How to Get Started with Ableton Live: A Beginner’s Guide


If you're eager to dive into music production, Ableton Live is a fantastic choice. This powerful digital audio workstation (DAW) is known for its versatility and user-friendly interface. Whether you're an aspiring producer or just exploring a new hobby, getting started with Ableton Live is an exciting journey.

Understanding the Basics
Before you begin, it's important to familiarize yourself with the basic layout of Ableton Live. The interface is divided into two main views: Session View and Arrangement View. The Session View is great for improvisation and live performances, while the Arrangement View is used for detailed editing and arranging your tracks.
Take some time to explore the browser panel on the left side of the screen. Here, you'll find instruments, effects, samples, and more. Drag and drop them into your project to start experimenting with sounds.
Setting Up Your Workspace
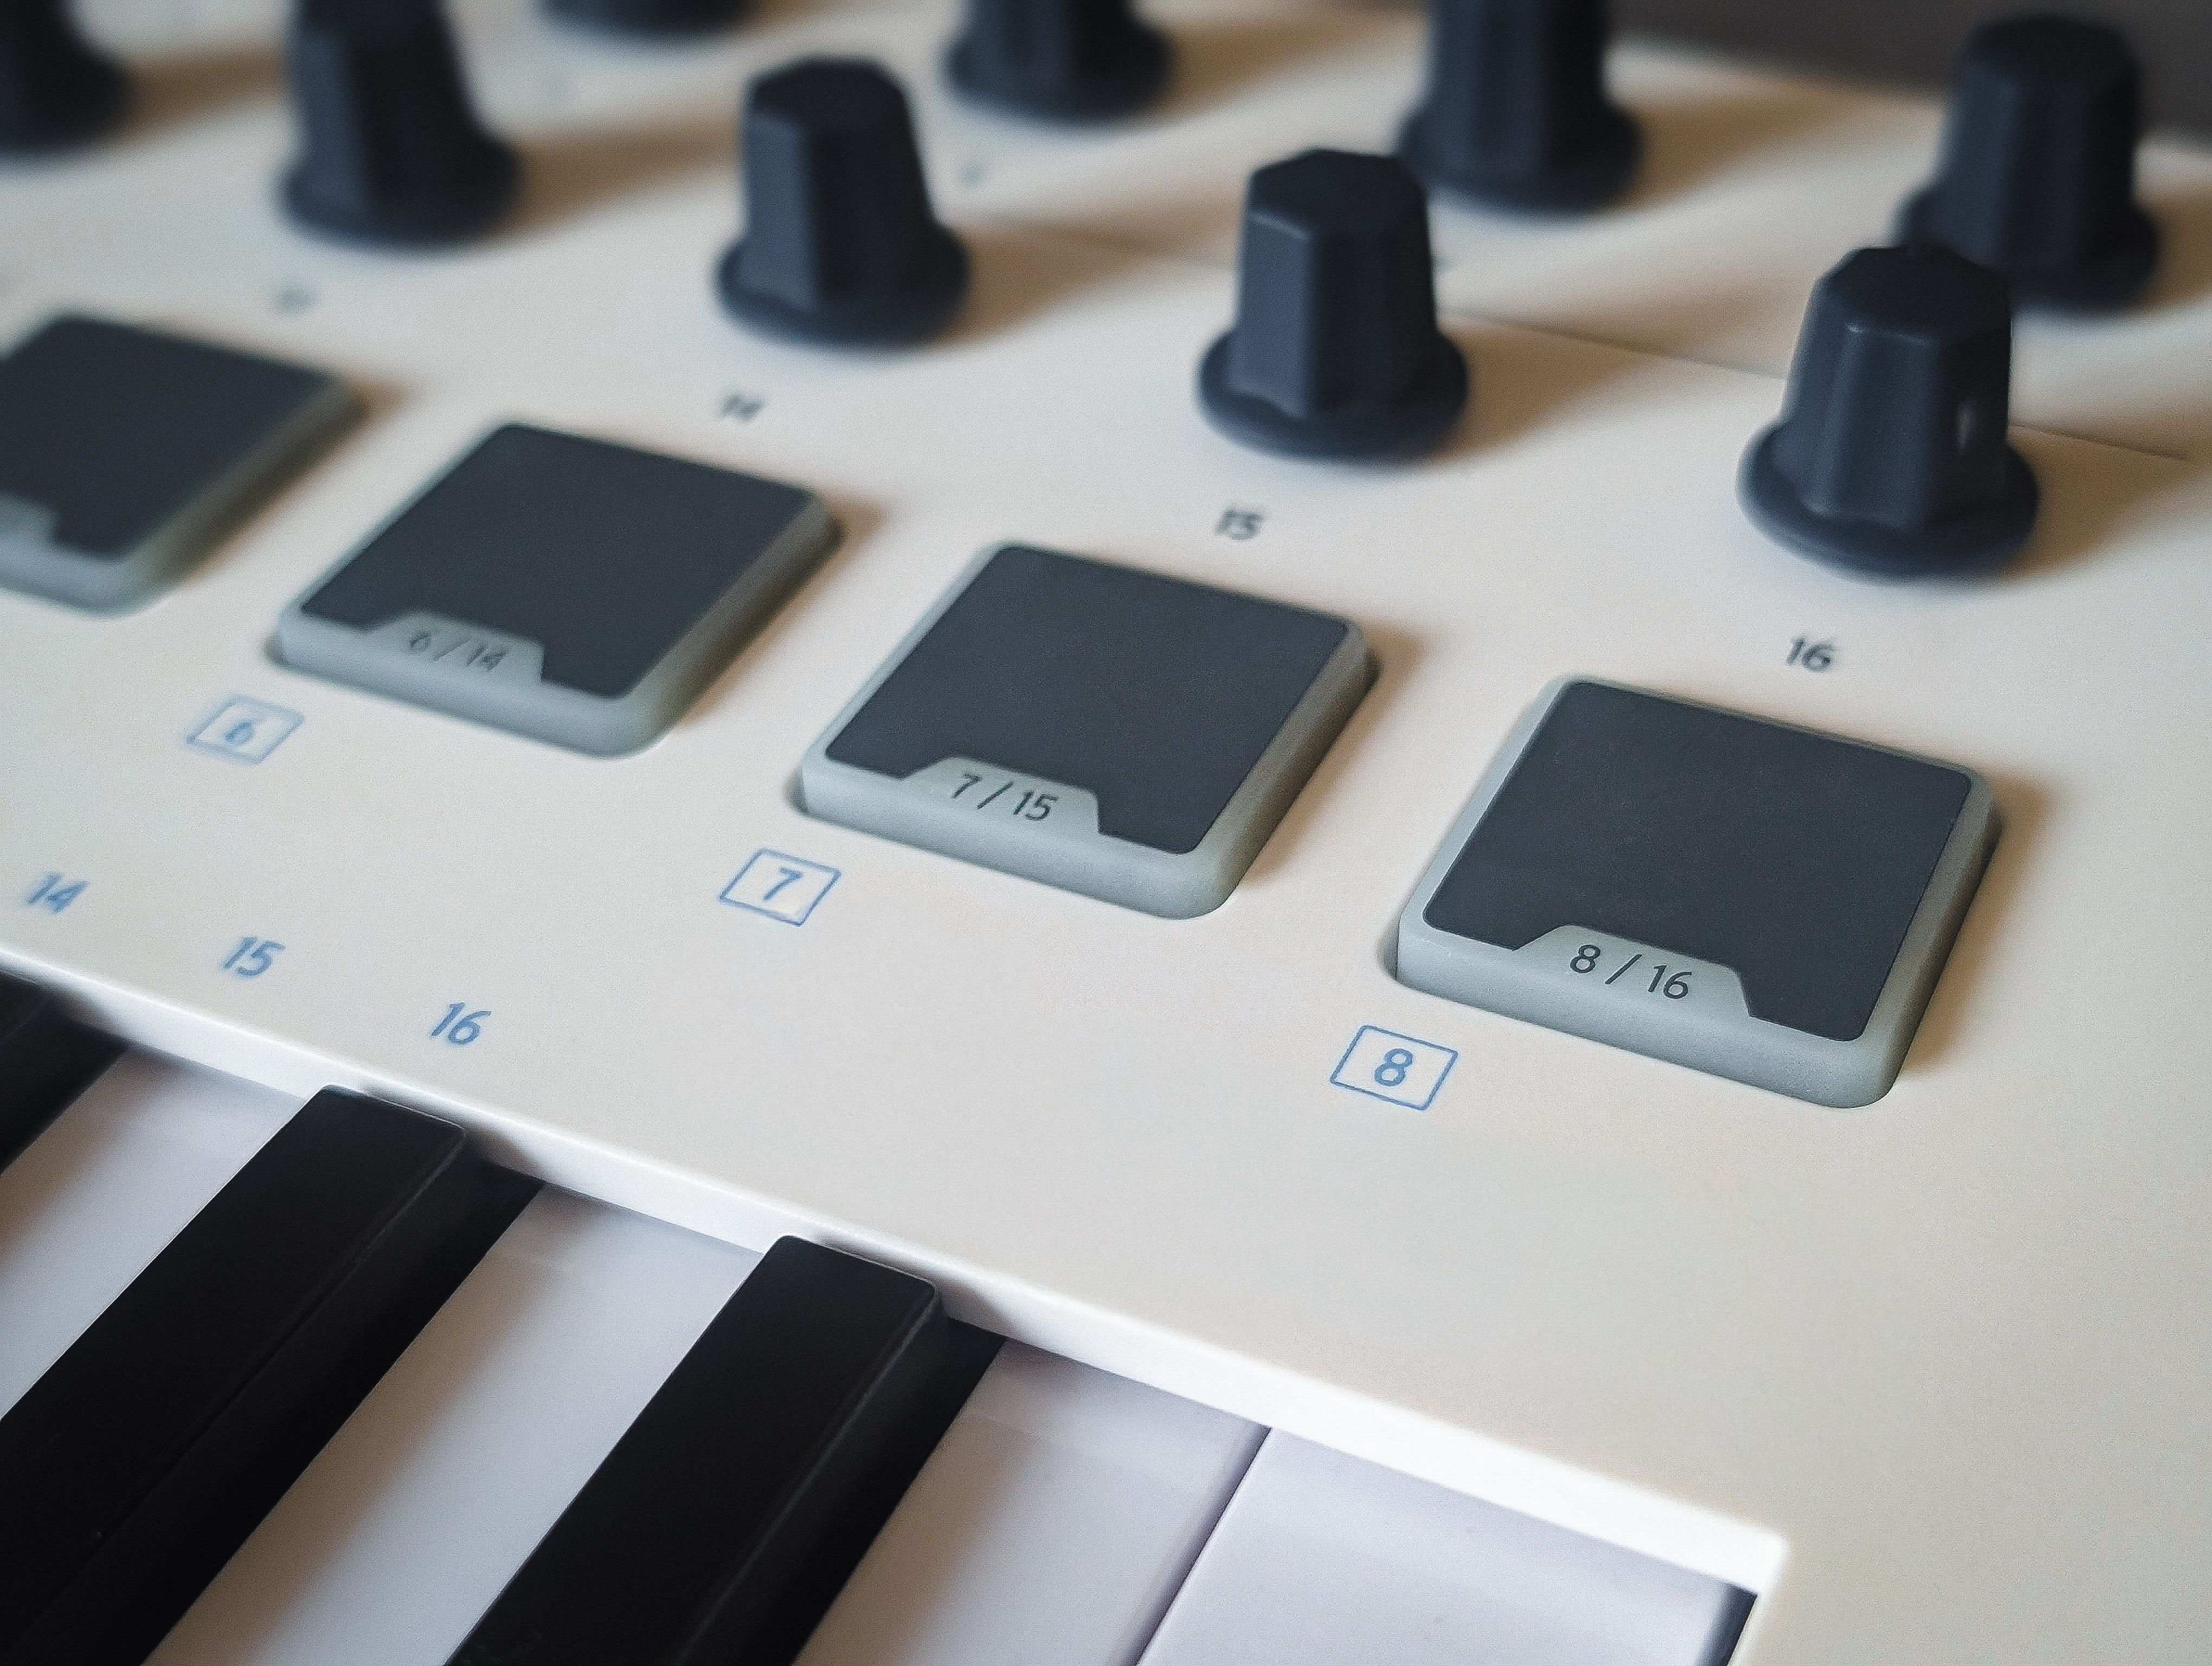
Customizing your workspace can greatly enhance your workflow. Start by connecting any MIDI controllers or audio interfaces you might have. This allows for more hands-on control over your music production process. Don't forget to adjust your audio preferences to ensure optimal performance.
Creating Your First Track
Now that you're familiar with the interface, it's time to create your first track. Begin by choosing a drum kit from the browser and dragging it into a new MIDI track. Use the Piano Roll to program your drum patterns, experimenting with different rhythms and beats.
Next, add some melodic elements. Select a virtual instrument, such as a synthesizer or piano, and create a new MIDI track. Play around with different notes and chords to compose your melody. Remember, experimentation is key!
Adding Effects and Automation
To add depth and character to your track, consider using effects like reverb, delay, and EQ. Simply drag and drop these effects onto your tracks and adjust the parameters to your liking. Automation can also help you create dynamic changes in your music by altering effects and volume over time.

Mixing and Exporting
Once you're satisfied with your track, it's time to mix it. Pay attention to levels, panning, and EQ to ensure each element sits well in the mix. Listening through different sound systems can help you identify any issues.
Finally, export your finished track by selecting File > Export Audio/Video. Choose the desired file format and quality settings, and your first track is ready to share with the world!
Continuing Your Learning Journey
Ableton Live offers a wealth of resources for continued learning. Explore online tutorials, join forums, and connect with other producers to expand your knowledge. With practice and persistence, you'll be creating professional-quality music in no time.
Remember, the key to mastering Ableton Live is to keep experimenting and have fun with the process. Happy producing!